vRealize Orchestrator 7 (vRO) Install
While attempting to setup vRealize Orchestrator 7 at home it soon became clear the documentation isn’t great after much flipping between documents and blog posts I got this installed and working. Here I are the steps I followed.
Deploy vRealize Orchestrator
Deploy the OVA via web client and specify network details appropriate to your home lab, ensure a DNS A and PTR record are created for the vRealize Orchestrator appliance. The Orchestrator client relies on a Java Runtime so while OVA deploys its a good time to install this if its not already.
Once deployed the various interfaces to vRO can be accessed from the main menu screen https://vro-fqdn:8281/vco/.
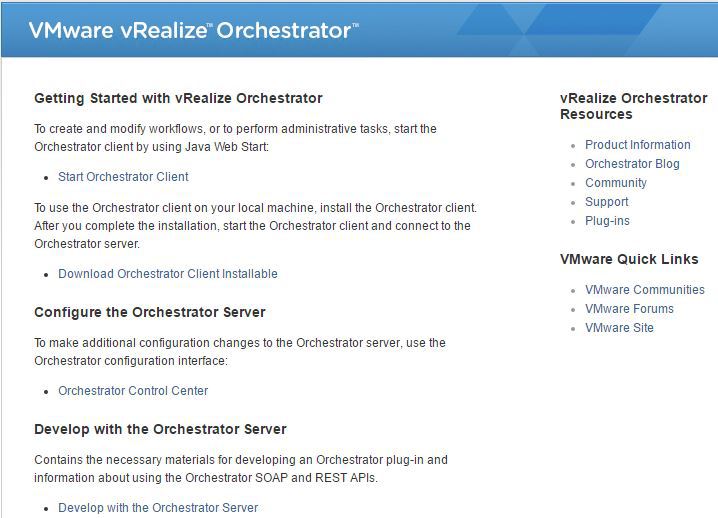
From the menu select ‘Orchestrator Control Center’ from the start menu and authenticate with the account named root with the password you specified during OVA deployment.
Configure vCenter Connection
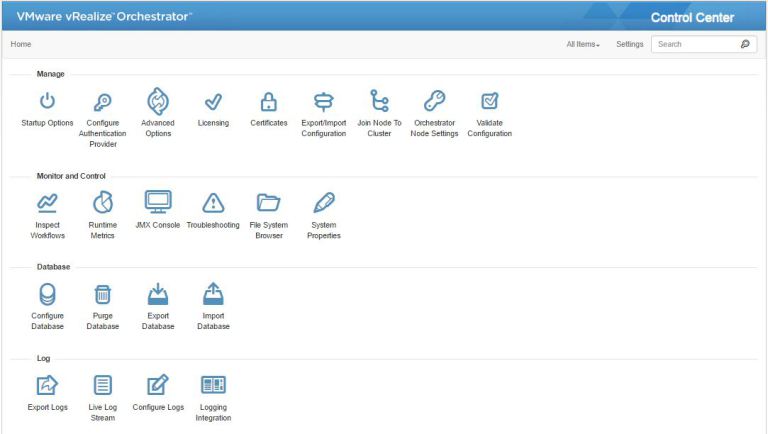
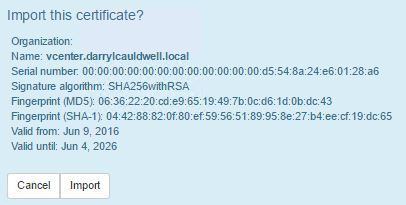
The first thing to do once vRealize Orchestrator is deployed is to import the vCenter SSL certitificate. Select the Control Center ‘Manage \ Certificates’ menu item. Within trusted certificates tab click ‘Import \ Import from URL’.
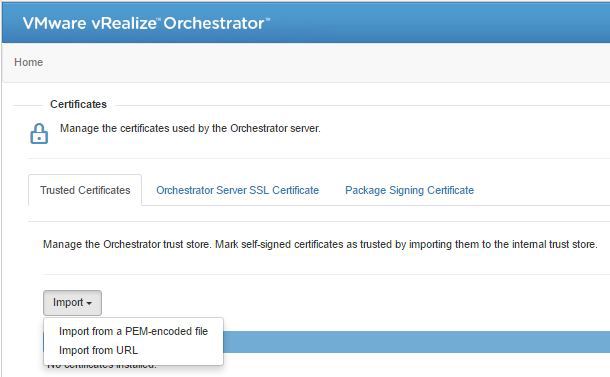
Within this wizard enter the FQDN of your vCenter and at next wizard screen click Import.
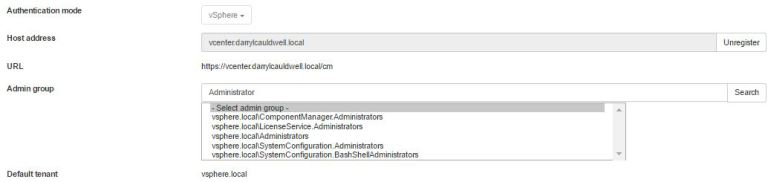
I use vCenter as an appliance with embedded Platform Services Controller, I’d prefer to manage vRealize Orchestrator using the same Single Sign On account. To do this use the vRealize Orchestrator Control Center menu option ‘Manage \ Configure Authentication Provider’.
Select ‘Authentication mode’ to be vSphere, enter FQDN of vCenter and click Connect. Your then asked for a User name and password, this account is used to bind to Single Sign On so enter your logon details and click Register. Your then asked to enter an Admin group, start to type Administrator and click the Search button to the right and it should list all available groups from SSO with Administrator in the name. Select ‘vsphere.local\Administrators’ and click Save.
Once added the vRO service needs to be restarted there is a link presented once configuration is saved, or this can be selected from ‘Mange \ Startup Options’.
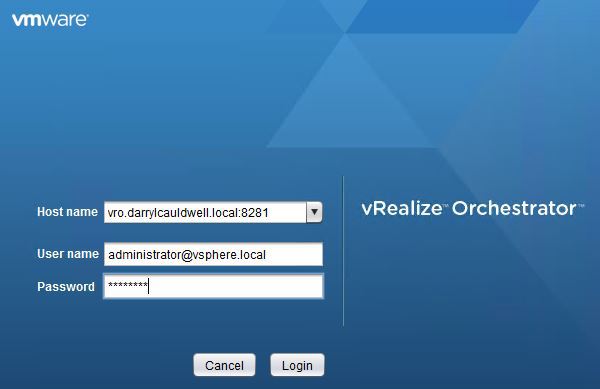
You should now be able to open the main menu and start the vRO Client, login with your SSO credentials and start having fun.
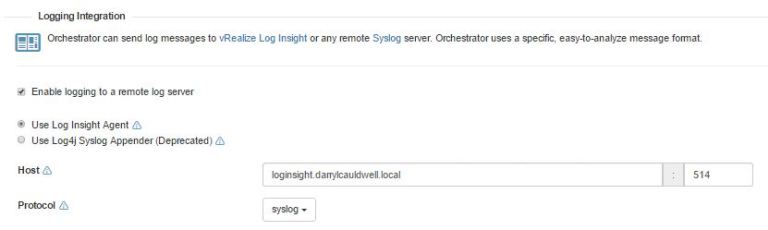
Redirect Syslog to Log Insight
I use vRealize Log Insight to to centralize all my lab log files. To set Log Insight as a remote syslog use ‘Control Center \ Log \ Logging Integration’. Complete the details of Log Insight server.
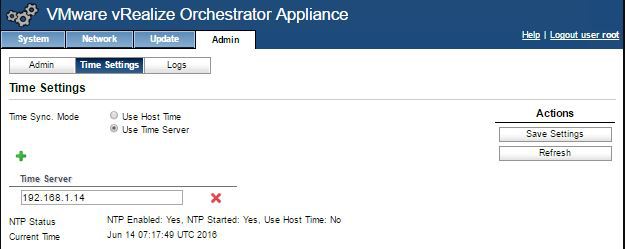
Configure NTP
I sync time from Active Directory in my homelab, this is done from the appliance configuration application located https://:5480. Within this go to the ‘Admin \ Time Settings’ menu option and enter the NTP server IP address.