Docker On Photon On vCloud Air
There has been a lot of industry noise around Docker and VMware project Photon so these have been on the agenda to explore as well. I generally perform my little research projects running nested ESXi on VMware Fusion on my laptop, but VMware are offering £300 of free service credits for trialing vCloud Air OnDemand. Here is my how to guide of the steps I used.
vCloud Air Networking
This post assumes your starting with a clean vCloud Air account, obviously you may already have vCloud Air networking setup, if so there is no need for this section as long as the Photon and test nexted ESXi VM sit on a common broadcast network this should be fine.
First task would be to setup a ‘Virtual Private Cloud OnDemand’ this you create in a location close to you for me thats Slough, UK, this will create virtual datacenter with ‘default-routed-network’ (192.168.109.1/24).
Create Photon vApp
Surprisingly there is no Photon vApp Template available in the vCloud Air public catalog, they do however provide the photon-1.0TP1.iso. So first task is to navigate to vCloud Director, Catalog view and create new personal Catalog called ‘Photon’ then navigate to the Public Catalog \ Media tab and copy the Photon ISO to your new personal Catalog.
- While in vCloud Director navigate to My Cloud and ‘Build New vApp’
- Within the new vApp add a VM called ‘photon’
- Change its OS to ‘Other 3.x Linux (64-bit)’
- Increase memory to 2vCPU, 2GB vRAM and vHDD to 40GB
- Change network to ‘default-routed-network’, ‘Static - Manual’ ‘192.168.109.100’
- Ensure ‘Organization VDC network’ is selected and NOT ‘vApp network’
- Attach the Photon ISO as CDROM and power on.
Base Photon Configuration
Open remote console to the Photon VM and it should be at boot menu.
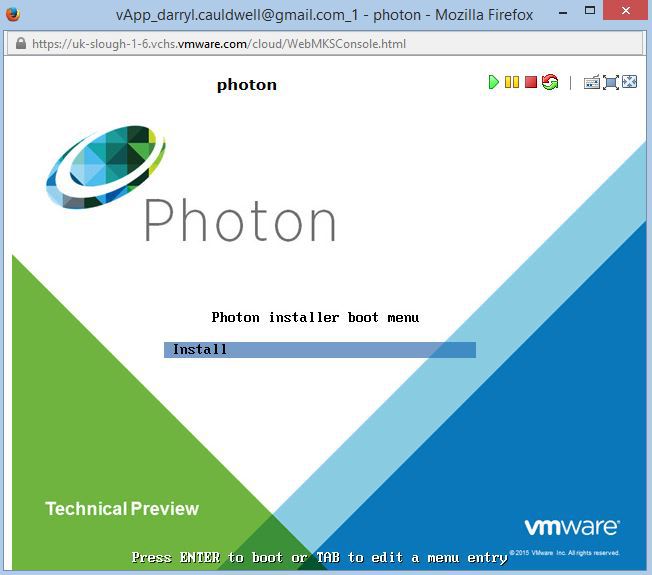
- From boot menu select Install
- Accept EULA, and defaults through disk partitioning
- At installation type select ‘3. Photon Full OS (All).
- Give hostname ‘photon.local’ and give a root password (NextGEN1!)
Configure SSH Inbound
So next you might not want to use the vCloud Air console to access Photon, you will probably want to use a SSH client and connect directly. So to do that we would need to create a ‘Network Address Translation’ NAT rule to link the vCloud Air externally published IP address with the internal IP address. There are two types of NAT rule, SNAT and DNAT, we will be looking to configure DNAT as the traffic is traveling from the Internet (the source) to a virtual machine inside vCloud Air (the destination).
- Once booted, connect to console and logon with root and password.
- Use this post to enable SSH and set static IP address to 192.168.109.100/24 with gateway of 192.168.109.1.
- If we navigate to vCloud Director view ‘Administration’ tab, select vDC in the left pane and choose ‘Edge Gateway’ in the right pane.
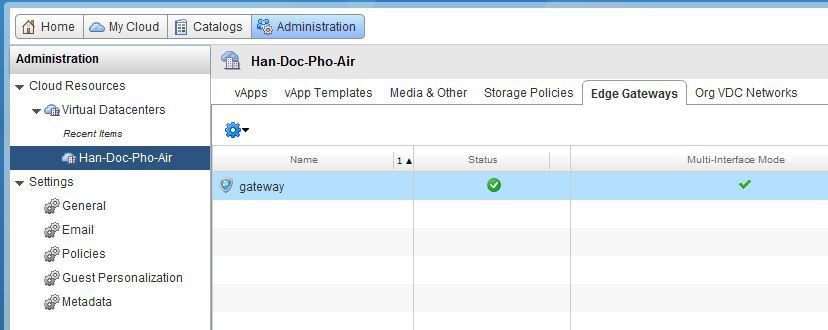
- Select ‘gateway’ and select the Action for ‘External IP Allocations’, note down the external IP address.
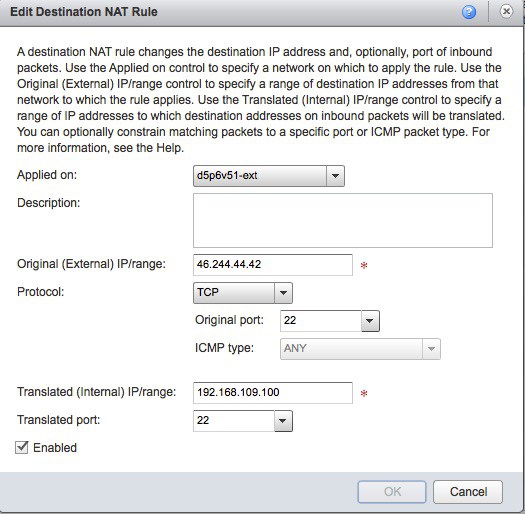
- Ensure ‘gateway’ still selected and select the Action for ‘Edge Gateway Services’, change to the NAT tab, and click ‘Add DNAT’, change applied to to your network add the External IP address as you noted just before, select port 22 (SSH) for Outgoing and Translated ports, and give the Photon IP address as the Internal IP.
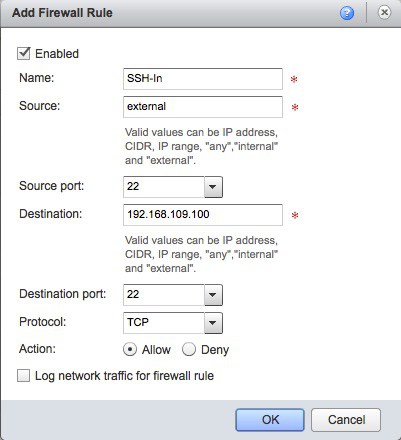
- Ensure ‘gateway’ still selected and select the Action for ‘Edge Gateway Services’, change to the firewall tab and add ingress firewall rule called SSH-In from external to specific IP 192.168.109.100 port 22.
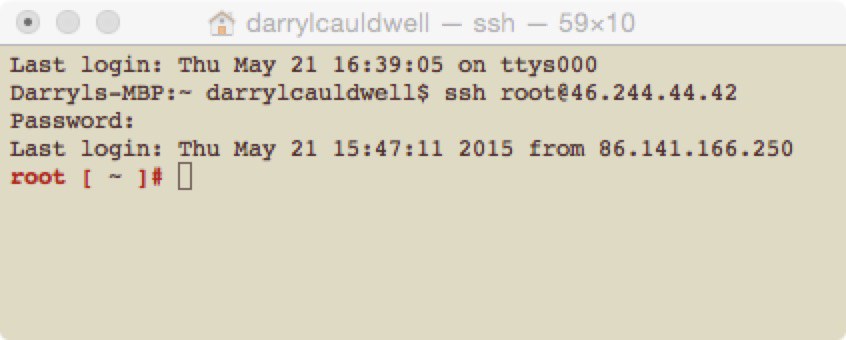
- If all has gone to plan you should now be able to connect from a remote SSH client.
Enable vCloud Air VM Internet Access
To enable our vCloud Air VMs to access the internet we need to configure a NAT rule to handle the private to public address and also a firewall rule to allow the traffic.
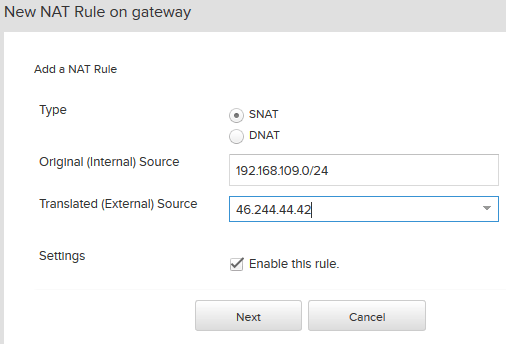
- Add a source NAT rule, for Original Source enter 192.168.109.0/24 and for Translated Source select your public IP address.
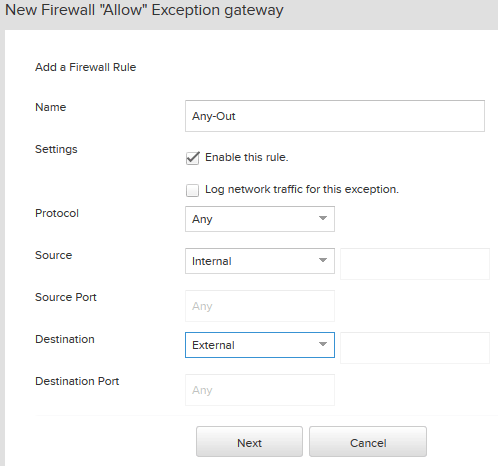
- Add a firewall rule to allow all traffic outbound, give it name Any-Out, Source as ‘Internal’ and destination ‘External’
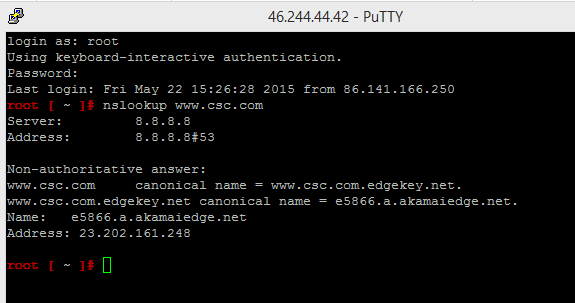
- Your Photon VM should now be able to talk to the Internet
Docker
Docker itself is included in the Photon image so with Internet connectivity you can pull things from public repositories and away you go.