Raspberry Pi Kubernetes Cluster
The Raspberry Pi is a useful platform for self-hosting applications. More often than not self-hosted applications are supplied as container images. I used to run one application on one Raspberry Pi. The Raspberry Pi 4 ships with a 1.5GHz Quad-core CPU, USB3 and upto 8GB RAM. Here I am looking at clustering four to host the various containers I run and use a scheduling engine. I am using 8GB Pi 4Bs configured to mass storage boot from 128GB USB3 flash drives built with Ubuntu 21.04 LTS.
Rancher K3S OR Canonical Microk8s
K3s and Microk8s are both lightweight implementation of Kubernetes they have various differences but a key one to understand is high availablity approach.
| Function | MicroK8s | K3s |
|---|---|---|
| Kubernetes Node Roles | Every node is a worker node | Agent Node(s) |
| Kubernetes API Server | Every node is an API server | Server Node (s) |
| Kubernetes Datastore | Dqlite | etcd |
| Datastore HA | Embedded Dqlite when >3 nodes | Requires External datastore |
I want my four node cluster to be highly available as easily as possible so for this deployment I chose Microk8s.
Microk8s Pre-requisit
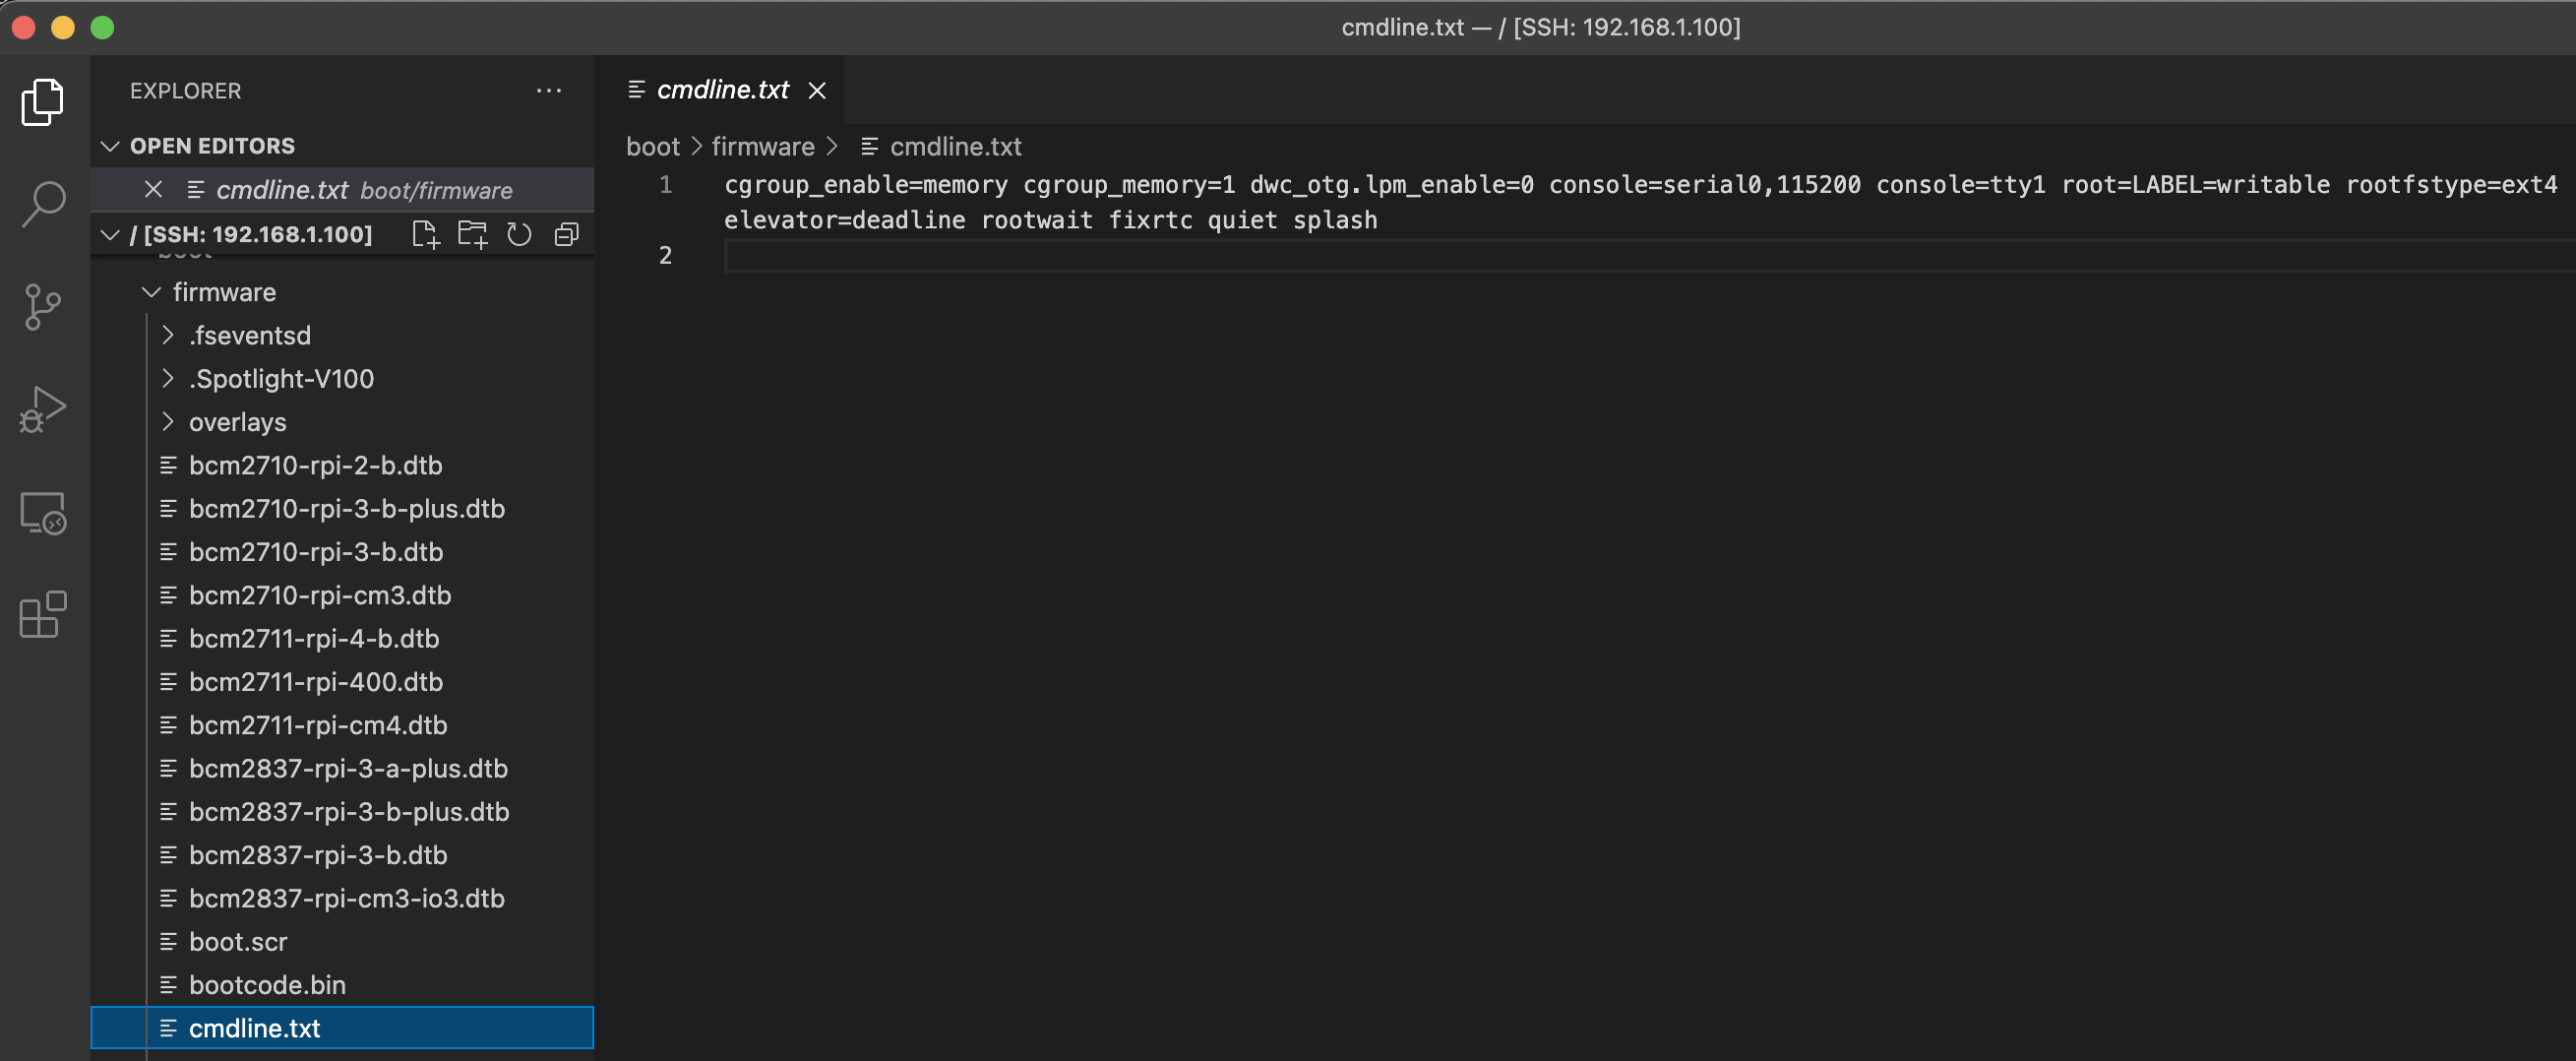
Some Raspberry Pis have limited RAM so cgroup memory support is disabled by default. We can update all of the Pi’s to enable cgroup memory during bootstrap.
vi `/boot/firmware/cmdline.txt`

## Add the following options
cgroup_enable=memory cgroup_memory=1

## Reboot for changes to take effect.

sudo reboot

Install Microk8s
MicroK8s is supplied as a snap, there are various Kubernetes releases these are available as snap channels. To see all available versions we can query what channels are available. When I’m running this the current Kubernetes version is 1.21 and I filter results on this we can see all.
snap info microk8s | grep 1.21

latest/stable:    v1.21.1  2021-05-17 (2215) 168MB classic
latest/candidate: v1.21.1  2021-05-13 (2214) 168MB classic
latest/beta:      v1.21.1  2021-05-13 (2214) 168MB classic
latest/edge:      v1.21.1  2021-05-19 (2227) 168MB classic
1.21/stable:      v1.21.1  2021-05-17 (2215) 168MB classic
1.21/candidate:   v1.21.1  2021-05-14 (2215) 168MB classic
1.21/beta:        v1.21.1  2021-05-14 (2215) 168MB classic
1.21/edge:        v1.21.1  2021-05-20 (2232) 168MB classic
1.14/stable:      v1.14.10 2019-12-20 (1121) 164MB classic
I’ll look to install the stable release of 1.21 and add ubuntu user to microk8s group on each using:
sudo snap install microk8s --classic --channel=1.21/stable
sudo usermod -a -G microk8s ubuntu
newgrp microk8s
When the snap is loaded and running on all nodes we can look to form them into a cluster. On first node run following and it will generate a token to run on remote node to add it.
## From first node in cluster generate token
sudo microk8s add-node

From the node you wish to join to this cluster, run the following:
microk8s join 192.168.1.100:25000/73d707e38ddb7c7bbcf29a328a505179/7e8d2c9a15af
Then on remote node run command with generated token.
sudo microk8s join 192.168.1.100:25000/73d707e38ddb7c7bbcf29a328a505179/7e8d2c9a15af

Contacting cluster at 192.168.1.100
Waiting for this node to finish joining the cluster. ..
Repeat this process (generate a token, run it from the joining node) for the third and forth nodes. When all done from any node we can query the cluster state see all four nodes and check high availability status.
sudo microk8s status

microk8s is running
high-availability: yes
  datastore master nodes: 192.168.1.100:19001 192.168.1.101:19001 192.168.1.102:19001
  datastore standby nodes: 192.168.1.103:19001
addons:
  enabled:
    ha-cluster           # Configure high availability on the current node
  disabled:
    dashboard            # The Kubernetes dashboard
    dns                  # CoreDNS
    helm                 # Helm 2 - the package manager for Kubernetes
    helm3                # Helm 3 - Kubernetes package manager
    host-access          # Allow Pods connecting to Host services smoothly
    ingress              # Ingress controller for external access
    linkerd              # Linkerd is a service mesh for Kubernetes and other frameworks
    metallb              # Loadbalancer for your Kubernetes cluster
    metrics-server       # K8s Metrics Server for API access to service metrics
    portainer            # Portainer UI for your Kubernetes cluster
    prometheus           # Prometheus operator for monitoring and logging
    rbac                 # Role-Based Access Control for authorisation
    registry             # Private image registry exposed on localhost:32000
    storage              # Storage class; allocates storage from host directory
    traefik              # traefik Ingress controller for external access
Install kubectl
The Microk8s install deploys its own client and to execute have to remember to prefix everything with microk8s. I have to switch between systems often and to avoid confusion prefer to install normal kubectl. Again this is available as a snap in multiple versions.
snap info kubectl | grep 1.21

latest/stable:    1.21.1         2021-05-14 (1970)  9MB classic
latest/candidate: 1.21.1         2021-05-14 (1970)  9MB classic
latest/beta:      1.21.1         2021-05-14 (1970)  9MB classic
latest/edge:      1.21.1         2021-05-14 (1970)  9MB classic
1.21/stable:      1.21.1         2021-05-13 (1970)  9MB classic
1.21/candidate:   1.21.1         2021-05-13 (1970)  9MB classic
1.21/beta:        1.21.1         2021-05-13 (1970)  9MB classic
1.21/edge:        1.21.1         2021-05-13 (1970)  9MB classic
We want to install version to match Kubernetes and copy the Microk8s kubectl config to be kubectl default config.
sudo snap install kubectl --classic --channel=1.21/stable
mkdir ~/.kube
sudo microk8s config > ~/.kube/config
Cluster Networking
The base cluster networking provides communication between different Pods within the cluster. A kubernetes service resource is an abstraction which defines a logical set of Pods. The service can be defined as type ClusterIP, NodePort or LoadBalancer. The type:ClusterIP is only available between pods. The easiest way to expose externally is via type:NodePort this allocates a high port, between 30,000 to 32,767 and provides external port mapping on every host.
NodePort
Microk8s provides this out of the box. We can test this is working by first creating a web server which itself listens on port 80. Then create a service of type:NodePort. We can then view the service details to obtain port allocation and either run curl localhost or off-host to IP via external web browser.
kubectl create namespace net-test
kubectl config set-context --current --namespace=net-test
kubectl create deployment nginx --image=nginx --replicas=2 --port=80
kubectl get deployments -o wide

NAME    READY   UP-TO-DATE   AVAILABLE   AGE   CONTAINERS   IMAGES   SELECTOR
nginx   2/2     2            2           65s   nginx        nginx    app=nginx

kubectl expose deployment nginx --type=NodePort
kubectl get service -o wide

NAME    TYPE       CLUSTER-IP       EXTERNAL-IP   PORT(S)        AGE
nginx   NodePort   10.152.183.212   <none>        80:31508/TCP   9s

curl localhost:31508
kubectl delete service nginx
Cluster Ingress
Ingress exposes HTTP and HTTPS routes from outside the cluster to services within the cluster. To configure Ingress requires an Ingress Controller, Microk8s offers choice of two addons namely NGINX or Traefik. I looked to install NGINX with the Microk8s ingress addon.
microk8s enable dns ingress
Cluster Load Balancer
A virtual IP is provided by load-lalancer, private and public cloud platforms typically provide an external layer 4 load-balancer. For bare metal there is no external load-balancer, instead we can look to MetalLB.
Usefully Microk8s ships a MetalLB addon option, the installation takes parameter of address range of IPs to issue. When we pass the parameter the installer created the MetalLB ConfigMap.
microk8s enable metallb:192.168.1.104-192.168.1.110
kubectl expose deployment nginx --port=80 --type=LoadBalancer
kubectl get service

NAME    TYPE           CLUSTER-IP       EXTERNAL-IP     PORT(S)        AGE   SELECTOR
nginx   LoadBalancer   10.152.183.132   192.168.1.104   80:30461/TCP   6s    app=nginx

kubectl delete service nginx
Load Balanced Ingress
The ingress controller is deployed as a DaemonSet which creates a ingress controller pod on each host in the cluster. Each pod listens has a containerPort 80 for http, 443 for https and 10254 which is a health probe.
We can look to create a service resource type:LoadBalancer which re-directs and balances traffic across the cluster.
Save the following as file named ingress-service.yaml
apiVersion: v1
kind: Service
metadata:
  name: ingress
  namespace: ingress
spec:
  selector:
    name: nginx-ingress-microk8s
  type: LoadBalancer
  ports:
    - name: http
      protocol: TCP
      port: 80
      targetPort: 80
    - name: https
      protocol: TCP
      port: 443
      targetPort: 443
Apply the file to create the service
kubectl apply -f ingress-service.yaml
kubectl -n ingress get svc -o wide

NAME      TYPE           CLUSTER-IP      EXTERNAL-IP     PORT(S)                      AGE   SELECTOR
ingress   LoadBalancer   10.152.183.54   192.168.1.104   80:31707/TCP,443:31289/TCP   7s    name=nginx-ingress-microk8s
With this in place we can look to create a Ingress.
Save the following as file named nginx-ingress.yaml
apiVersion: networking.k8s.io/v1
kind: Ingress
metadata:
  name: nginx-ingress
  namespace: net-test
  annotations:
    kubernetes.io/ingress.class: public
spec:
  rules:
  - http:
      paths:
      - backend:
          service:
            name: nginx
            port:
              number: 80
        path: /
        pathType: Prefix
Apply the file to create the service and we can use cURL to get nginx homepage.
kubectl apply -f nginx-ingress.yaml
kubectl -n net-test get ingress -o wide

NAME            CLASS    HOSTS   ADDRESS   PORTS   AGE
nginx-ingress   <none>   *                 80      4s

curl 192.168.1.104
Web UI (Dashboard)
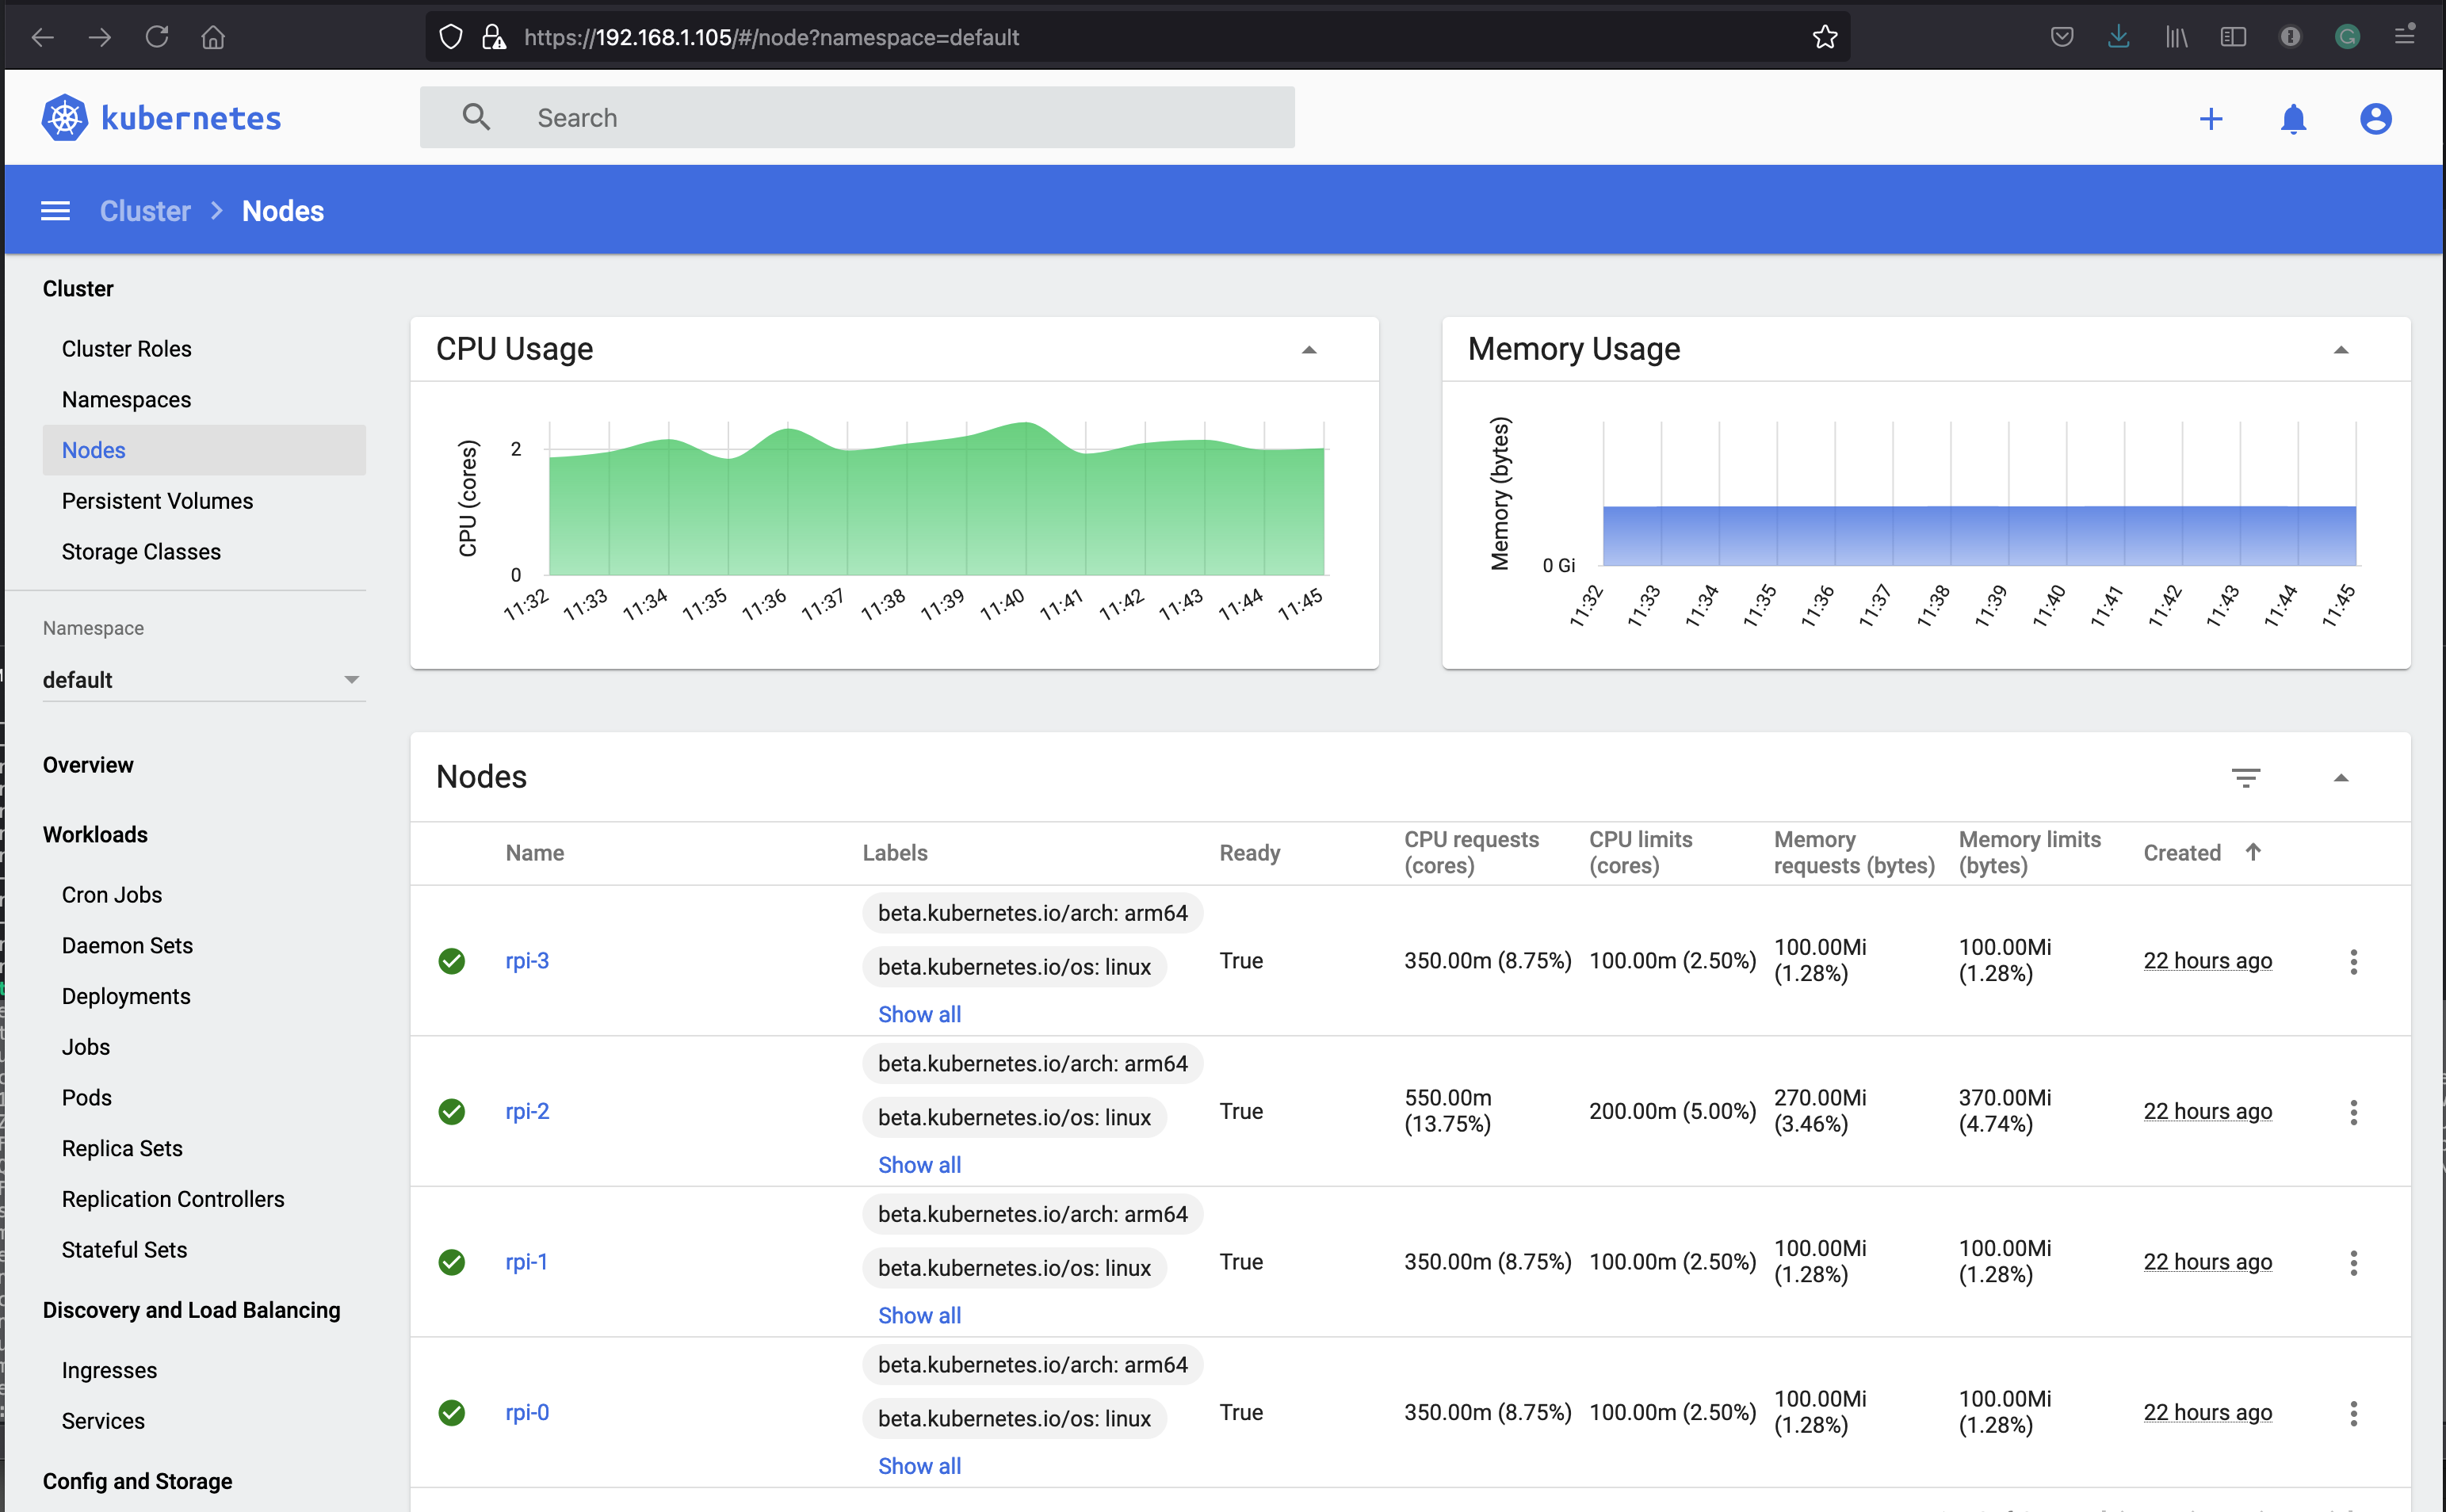
The Kubernetes web UI is a convenient way to view the cluster. This is supplied as a microk8s addon so simple to install.
sudo microk8s enable dashboard
This creates a deployment exposed as a service type:ClusterIP on port 8443. We can edit the service and change to type:LoadBalancer so we can easier consume.
kubectl -n kube-system get service kubernetes-dashboard -o wide

NAME                   TYPE        CLUSTER-IP       EXTERNAL-IP   PORT(S)   AGE     SELECTOR
kubernetes-dashboard   ClusterIP   10.152.183.172   <none>        443/TCP   4m14s   k8s-app=kubernetes-dashboard

kubectl -n kube-system edit service kubernetes-dashboard
kubectl -n kube-system get service kubernetes-dashboard -o wide

NAME                   TYPE           CLUSTER-IP       EXTERNAL-IP     PORT(S)         AGE     SELECTOR
kubernetes-dashboard   LoadBalancer   10.152.183.172   192.168.1.105   443:31093/TCP   5m39s   k8s-app=kubernetes-dashboard
